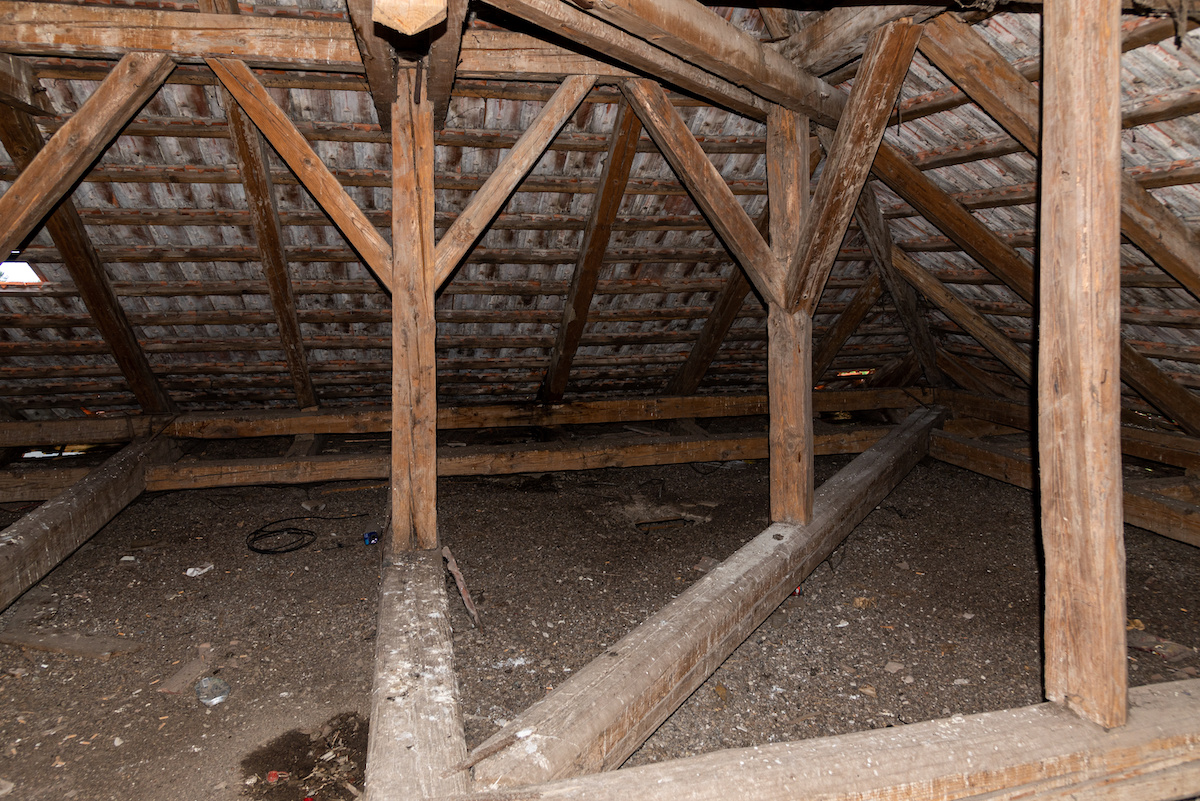
Your crawl space plays a crucial role in the overall health and efficiency of your home. Unfortunately, it’s often an overlooked area that can become a breeding ground for moisture problems, mold growth, pest infestations, and energy loss. If left unprotected, an unsealed and poorly insulated crawl space can negatively impact indoor air quality, increase energy bills, and even cause structural damage.
That’s why crawl space insulation and sealing are essential steps in effective remediation. Properly insulating and sealing your crawl space prevents common problems such as excessive moisture, pest invasions, and air leaks. In this guide, we’ll cover the key steps for crawl space remediation and why insulation and sealing should be priorities for every homeowner.
Why Crawl Space Insulation and Sealing Matter
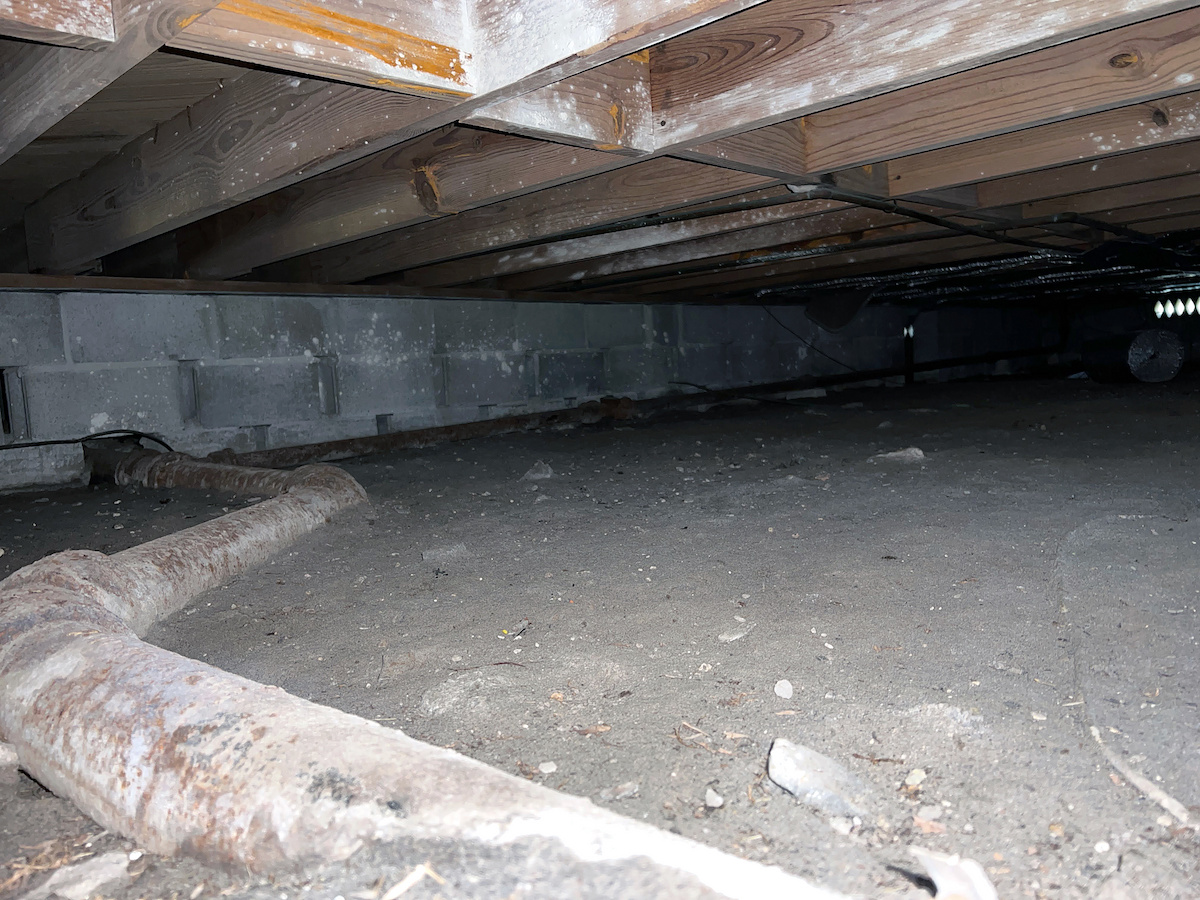
Crawl spaces are vulnerable areas in a home. If they aren’t properly insulated and sealed, they can allow outside air, pests, and moisture to infiltrate your home. Here’s why these steps are critical:
1. Prevents Moisture Buildup and Mold Growth
Excess moisture in your crawl space can lead to serious problems such as:
- Mold and mildew growth that affects indoor air quality.
- Wood rot, which weakens your home’s foundation.
- Musty odors that seep into your living spaces.
2. Reduces Energy Loss
An uninsulated crawl space allows cold air in during the winter and hot, humid air in during the summer. This makes your HVAC system work harder, leading to:
- Higher energy bills.
- Inconsistent indoor temperatures.
- Increased wear and tear on your HVAC system.
3. Prevents Pest Infestations
Crawl spaces provide an ideal habitat for pests like rodents, termites, and cockroaches. By sealing off entry points and removing moisture sources, you can:
- Deter rodents and insects from nesting.
- Prevent structural damage caused by termites and wood-boring pests.
- Improve indoor air quality by eliminating pest waste and allergens.
4. Improves Indoor Air Quality
Since up to 50% of the air in your home comes from the crawl space, unsealed and uninsulated crawl spaces allow pollutants, allergens, and mold spores to enter your home. Proper remediation ensures cleaner, healthier air.
Key Steps in Effective Crawl Space Remediation
To fully remediate your crawl space, a combination of sealing, insulation, moisture control, and pest prevention is necessary. Here’s a step-by-step breakdown of what should be done:
Step 1: Inspect the Crawl Space
Before any work begins, a thorough inspection of your crawl space is essential. Look for:
- Signs of moisture such as standing water, condensation, damp wood)
- Evidence of pest infestations such as droppings, nesting materials, chewed insulation.
- Damaged insulation or exposed wood.
- Gaps, cracks, or openings that could allow pests inside.
Tip: If you suspect major structural damage or extensive pest infestations, professional remediation services like James River Pest Solutions can help assess and address the problem.
Step 2: Seal Air Leaks and Entry Points
Unsealed crawl spaces allow outside air, moisture, and pests to enter. To properly seal your crawl space:
- Use caulk or foam insulation to seal gaps around pipes, ducts, and vents.
- Install a crawl space door and vent covers to block openings.
- Seal foundation cracks to prevent pest entry.
Tip: Sealing your crawl space first ensures that insulation and moisture control measures are more effective.
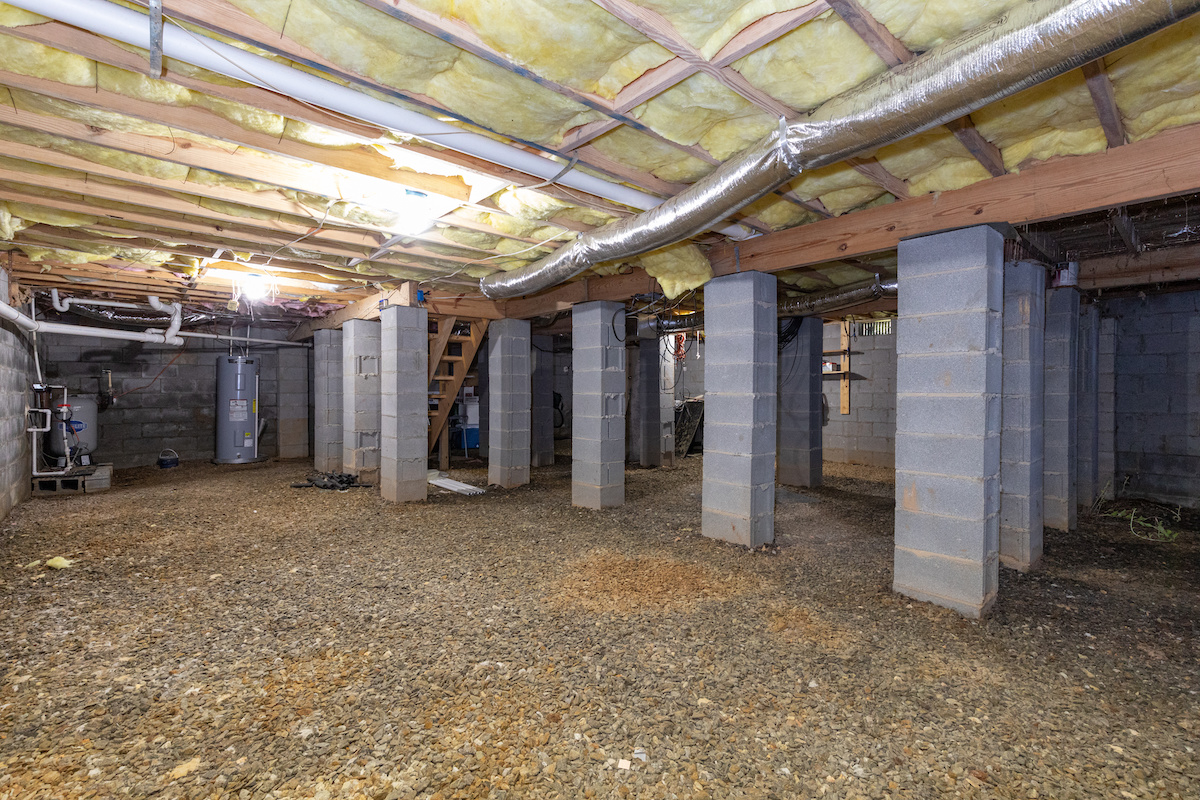
Step 3: Install a Vapor Barrier
A vapor barrier is essential for controlling moisture and preventing water damage. This heavy-duty plastic sheeting is installed on the crawl space floor and walls to keep moisture out.
- Choose a minimum 6-mil vapor barrier for basic protection, or opt for a thicker 12-20 mil barrier for added durability.
- Ensure the barrier covers the entire crawl space floor and extends partially up the walls.
- Seal seams and edges with special tape to prevent gaps.
Tip: If standing water is present, a drainage system or sump pump may be needed before installing a vapor barrier.
Step 4: Insulate the Crawl Space
Proper insulation helps regulate temperature and improves energy efficiency. The best insulation type depends on whether your crawl space is vented or unvented:
For Vented Crawl Spaces:
- Use fiberglass batt insulation in the subfloor between joists.
- Ensure insulation is faced downward because it prevents moisture absorption.
For Unvented Crawl Spaces:
- Install rigid foam insulation on crawl space walls instead of the floor.
- Foam board provides better moisture resistance than fiberglass.
Tip: Avoid spray foam insulation if you have ongoing moisture issues, as it can trap moisture and lead to mold growth.
Step 5: Control Humidity with a Dehumidifier
Even with a vapor barrier, some moisture can still seep into your crawl space. A crawl space dehumidifier helps maintain proper humidity levels.
- Keep humidity below 60% because this helps prevent mold growth.
- Choose an energy-efficient dehumidifier for continuous moisture control.
- Check and empty the water collection tray regularly if your unit doesn’t have a drainage system.
Tip: Some advanced dehumidifiers can be directly connected to a drain for automatic water removal.
Step 6: Prevent Pest Infestations
Once your crawl space is sealed and insulated, then pest prevention is key to keeping it protected.
- Regularly inspect for signs of pests such as droppings, gnaw marks, or scratching sounds.
- Keep outdoor landscaping maintained because it prevents rodents from accessing crawl space entry points.
- Schedule annual pest control inspections with professionals such as James River Pest Solutions to ensure long-term protection.
Tip: If you have had rodent infestations in the past, consider installing pest barriers around crawl space vents and entry points.
Long-Term Benefits of Crawl Space Remediation
Once your crawl space is properly insulated and sealed, you’ll experience several long-term benefits:
- Lower energy bills due to improved insulation.
- Better indoor air quality with reduced allergens and mold.
- Increased home value with a well-maintained crawl space.
- Less risk of pest infestations and structural damage.
- Improved HVAC efficiency since your system won’t have to work as hard.
When your crawl space is well-sealed, insulated, and moisture-controlled, your home will be healthier, more energy-efficient, and better protected against pests and water damage.
How James River Pest Solutions Can Help
At James River Pest Solutions, we understand that crawl space issues can lead to serious health risks and costly damage. Our team specializes in crawl space remediation, pest prevention, and moisture control, so that your home stays protected year-round.
Why Choose Us?
- Experienced professionals in pest prevention and moisture control.
- Customized solutions tailored so that we can match your home’s specific needs.
- High-quality materials for insulation and vapor barrier installations.
- Comprehensive pest inspections so that you can prevent future infestations.
Protect your home today with professional crawl space insulation and sealing! Contact James River Pest Solutions to schedule an inspection and start your crawl space remediation process.
Keep Your Crawl Space Safe
Your crawl space is an essential part of your home, and neglecting it can lead to major problems. Proper crawl space insulation and sealing prevent moisture issues, pest infestations, and energy loss, which then makes your home safer and more efficient. By following these key remediation steps, you can ensure long-term protection and improved indoor air quality.
If you need expert crawl space remediation, then James River Pest Solutions is here to help. Don’t wait—protect your home today!